
I know, I know, I skipped a day. Believe me, that wasn't the last time this is gonna happen. Last night was due to laptop issues, though, meaning I give that thing another couple of weeks at most and then it's off to the trash bin. So instead of giving myself a shiny new lens for my DSLR for Christmas, as planned, I'm probably gonna have to give myself a laptop that'll set me back more than twice as much. Great. Merry Christmas to me.
Plus, we have a big storm coming in today (apparently the worst one since 1962), so my bosses told everybody to stay home from work just to be safe, so cross your fingers for me that everybody's completely exaggerating and it won't turn out as bad as the weather service says it will.
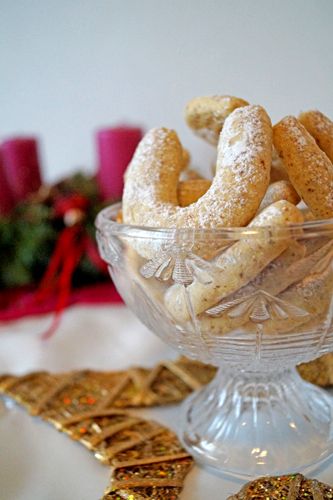
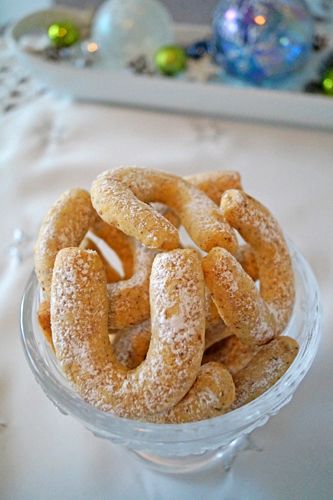
Anyway. On to better things. Vanillekipferl, for example. These are typical German Christmas cookies and no matter how often I make them, they will never not be delicious. You can taste the vanilla bean (Really, don't use a substitute on these, use the real thing. You'll thank me later.) and the powdered sugar gives them just the right sweetness. Mine always turn out huge (just as any other type of cookie I attempt), so the original recipe says it's for 140 cookies and I always end up with about...80 maybe? So plan accordingly. If you're completely capable of forming small cookies and you don't want to end up with 140, then maybe divide the recipe by half.
Vanillekipferl
300g all-purpose flour
140g white sugar
a pinch of salt
4 egg yolks
1 vanilla bean (scrape out the insides and discard the bean)
300g almond meal
300g softened butter
powdered sugar for dusting
1. Sift the flour onto your workspace (I usually work right on my kitchen counter) and make a hole in the middle of the flour. The sugar, salt, egg yolks and the vanilla bean paste go in there.
2. Evenly distribute the almond meal on the side of the flour as well as the butter, cut into small pieces. (Yes, it's a lot of butter. Yes, it's probably gonna cover the outside of your flour volcano almost completely when you're done. That's fine.)
3. With your hands, start kneading everything until you have a smooth dough. At first, it might seem like it won't come together and the egg yolk will stick more to your hands than to the dough, but after about 5 minutes, you should have a really workable dough.
4. Divide the dough into 4 parts and form 4 logs, about 4cm in diameter. Cover them in clingwrap (individually) and put them in the fridge for at least half an hour (an hour's better, though).
5. Line your baking trays with baking paper and preheat your oven to 200°C.
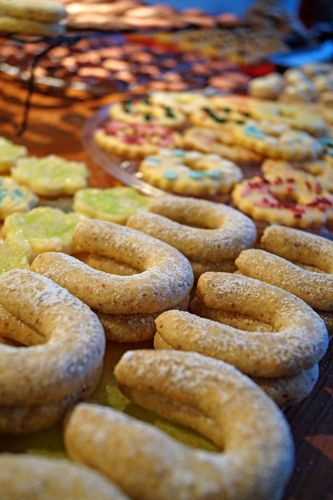
6. Take one of the logs out of the fridge and cut it into slices about a centimetre wide. Roll each slice into a small log (make sure the ends of the log are about as thick as the middle part of the cookies will burn on the sides) and then form a U-shape.
7. Bake for about 10 to 15 minutes (depending on how big your cookies turned out). The cookies aren't supposed to turn brown, so keep a close eye on them!
8. Once they've cooled down, dust with powdered sugar.
Enjoy!
♥ Nicole
Keine Kommentare:
Kommentar veröffentlichen